GitHub is one of many different repositories: BitBucket, GitKraken, and more! But to use a repository service is to host a collection of files that act together as one cohesive project. Today I am going to show you how my GitHub was made!
First, you must make an account. There are various features and perks to having a GitHub account, such as following your favorite GitHub builders to see what repositories they make or work on next!
Second, you need to create a repository! Install GitHub to Desktop, then follow through its installation process. Once you install GitHub and reach its directory, you can create a repository in two ways:
- Create a New repository on GitHub’s website itself.
- Load the Git Bash on your computer’s new directory and use the git init command to create a new repository.
Once you have a new repository, there are several commands to know and use to prepare, discard, add, remove, and otherwise change files and folders for committing to your new repository. When I had originally created my repository, I used git add * to add all of my files, but it was a mess! It was disorderly and the files were all over the place! I decided for my blog related Java code that I would put it all under one repository with each project occupying its own subfolder. During this cleanup however, I ran into an issue:
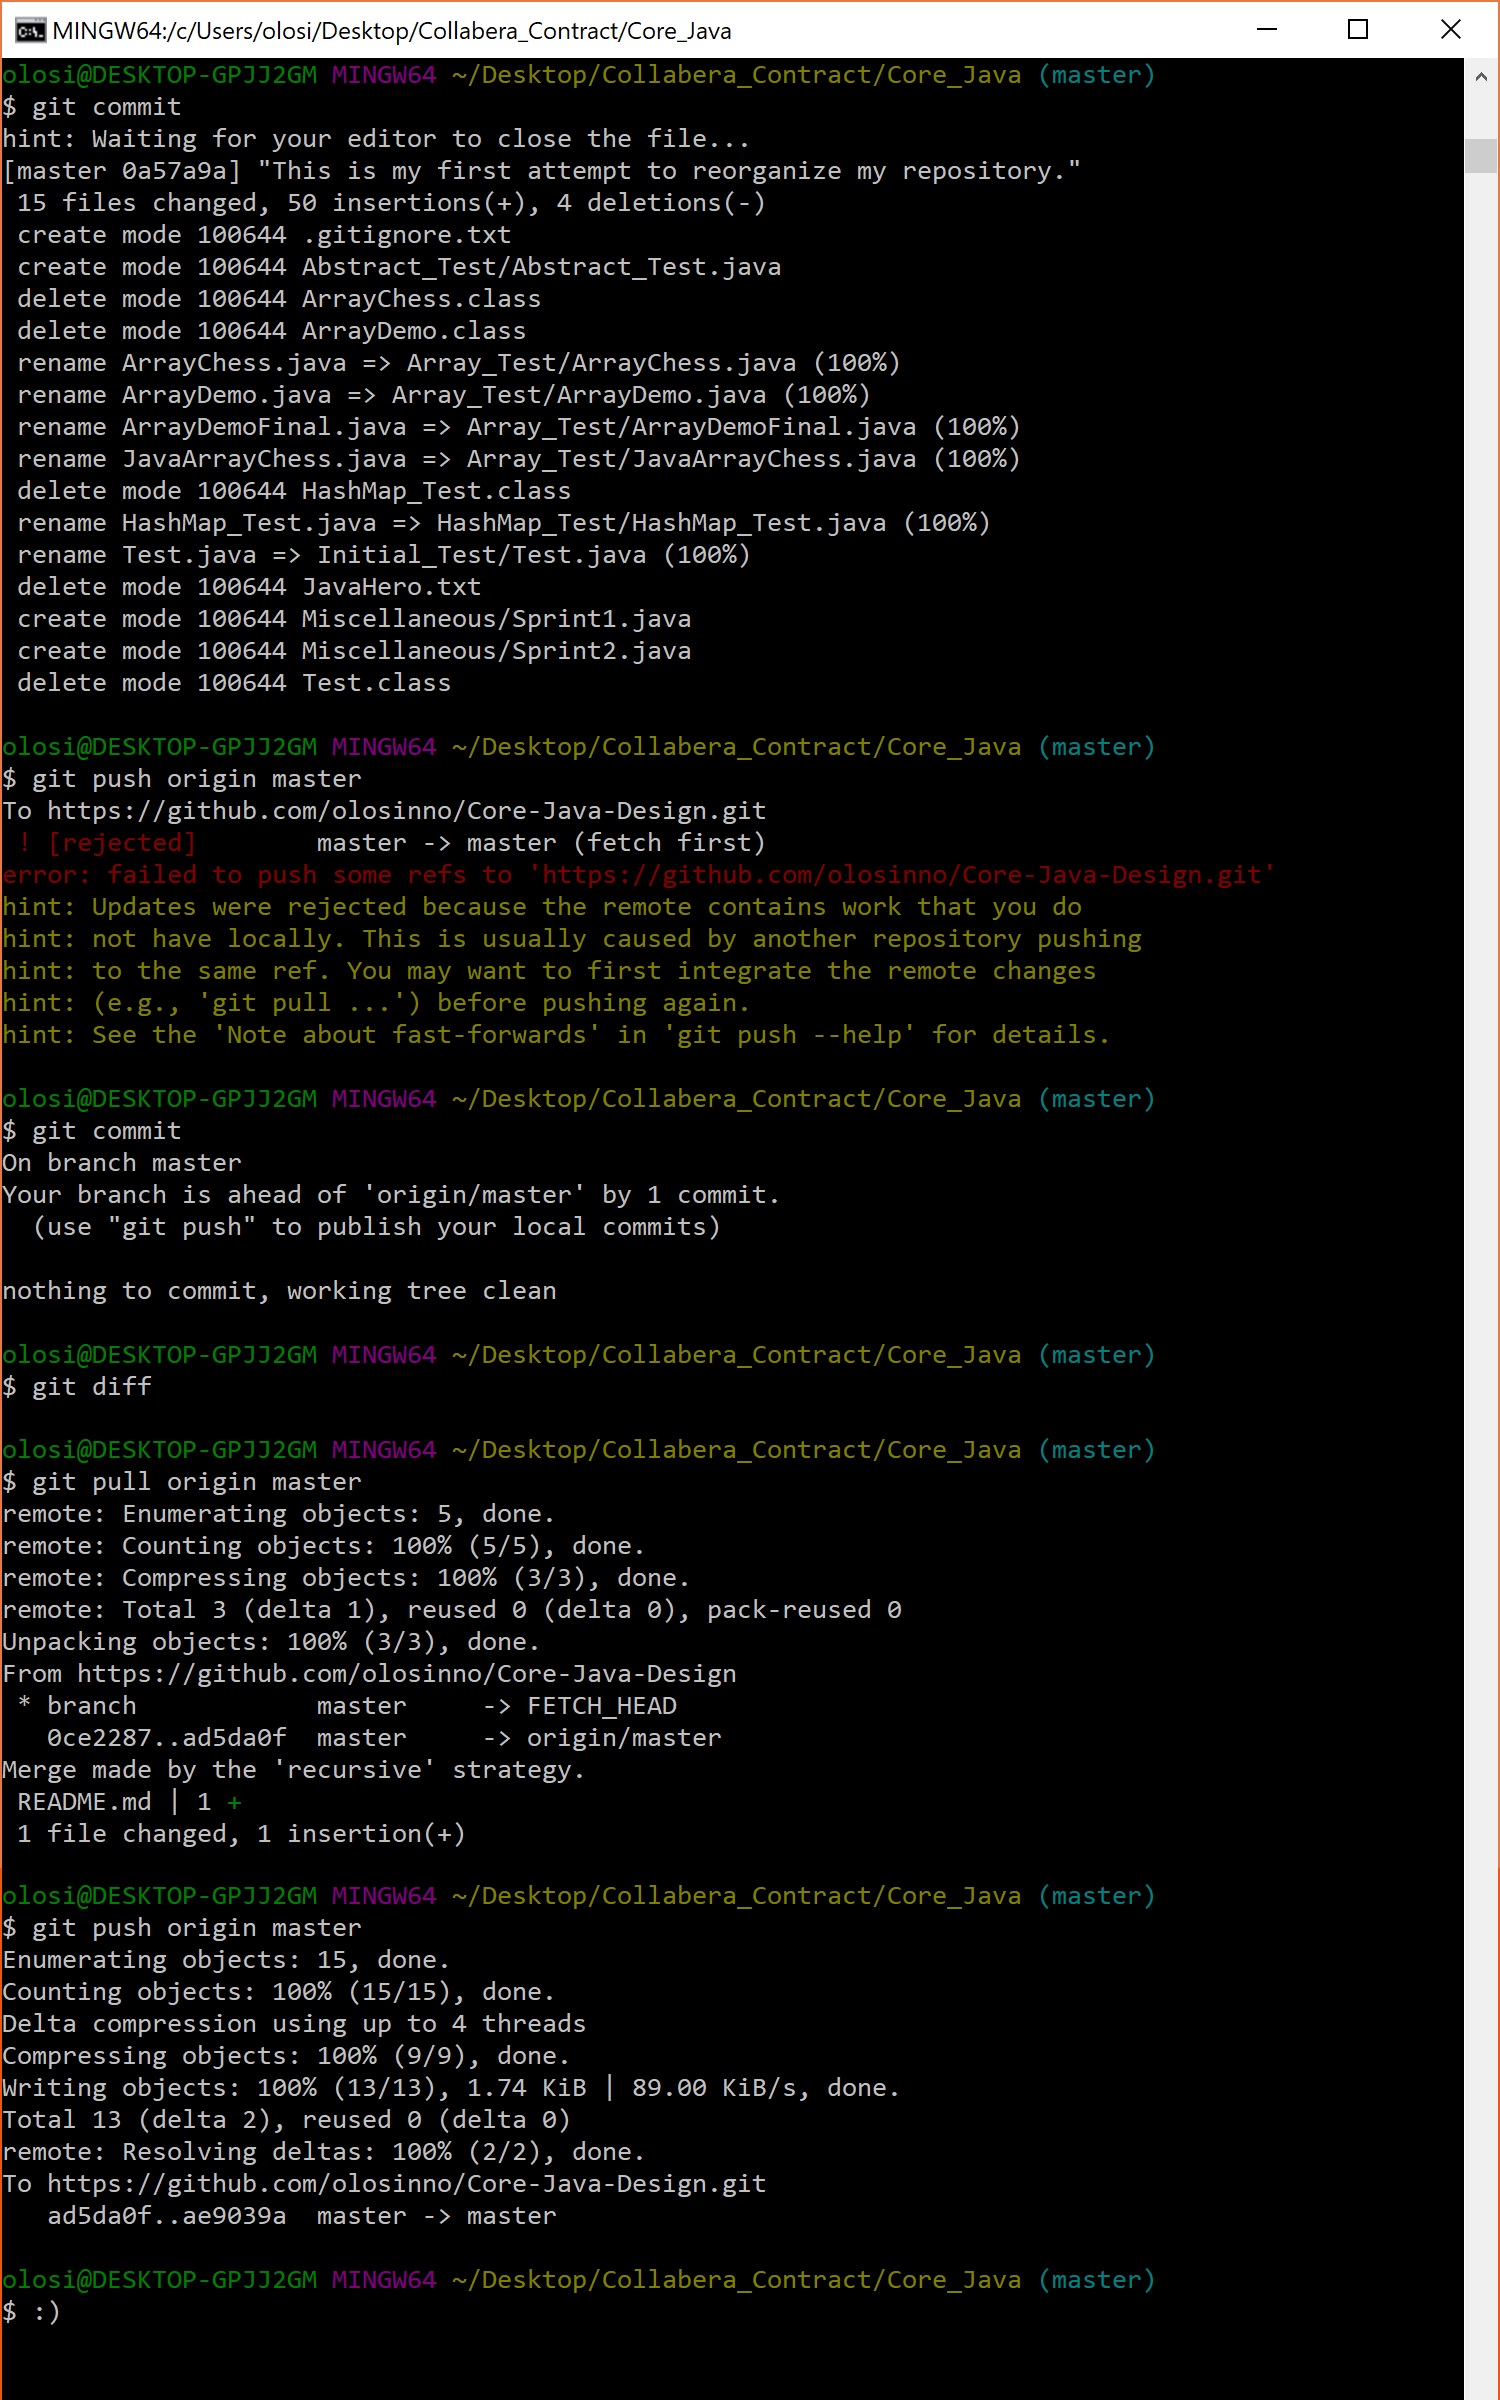
Following the hints on command line during my failed push turned out to be very helpful! I pulled, then pushed – like opening a stubborn door! At last I had achieved a clean repository!
However, my work isn’t done. I must continue to develop core java design! Only then can anybody who reads my posts can write clean, organized, and sensible object-oriented programming code! This has been a bonus post, thanks for reading!
